

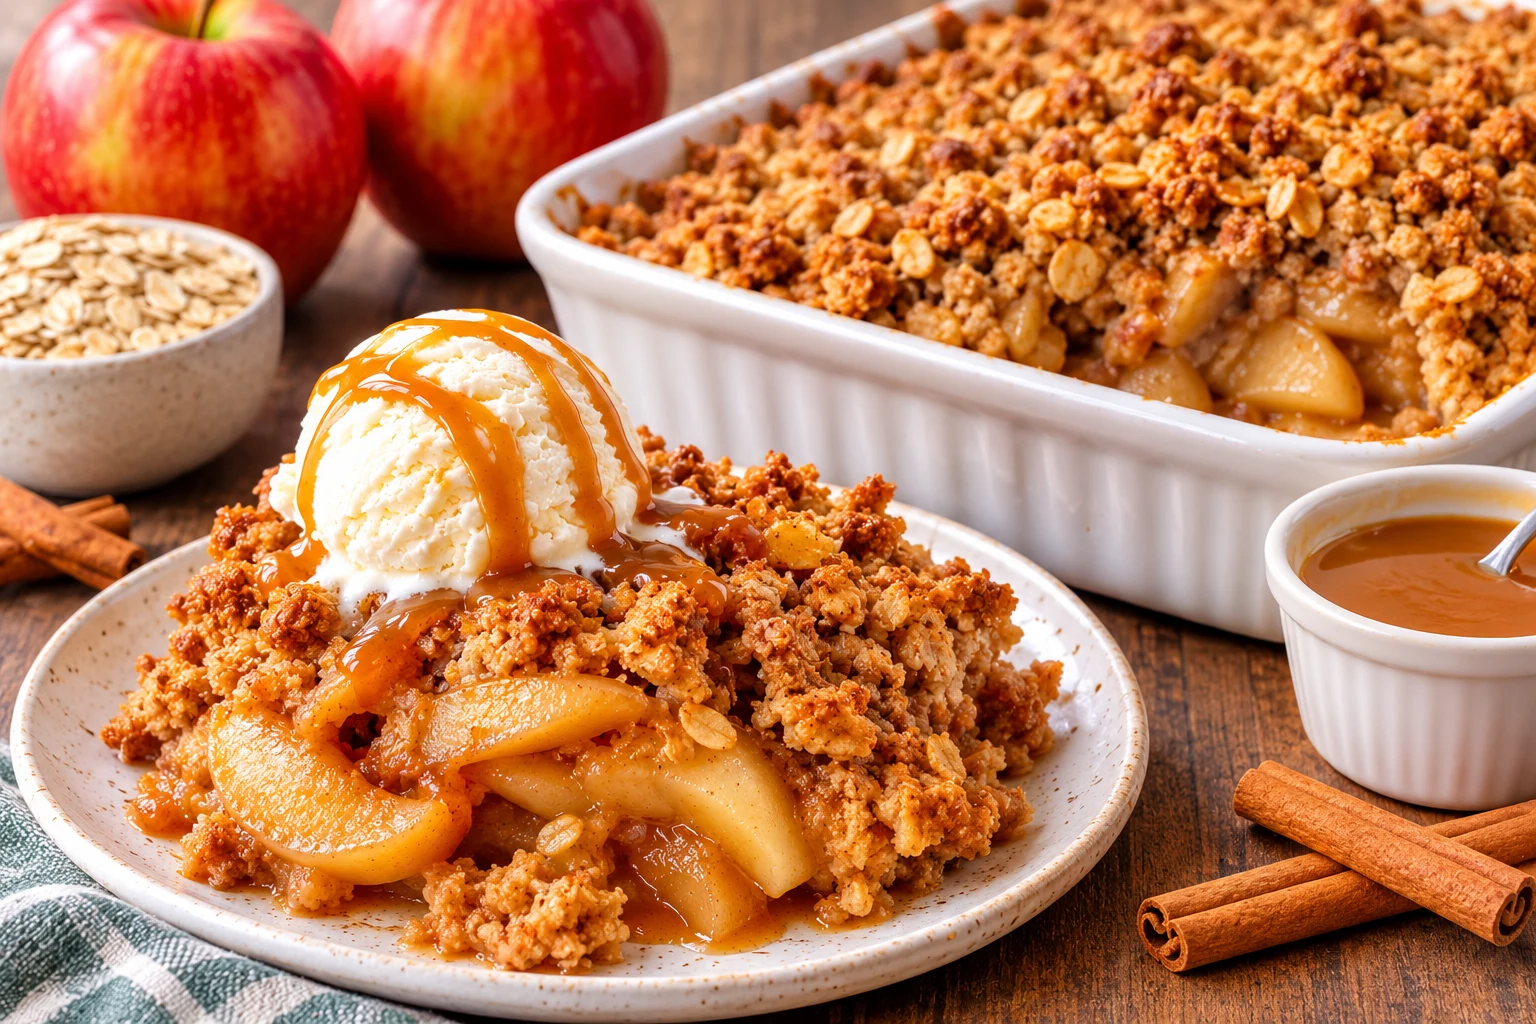
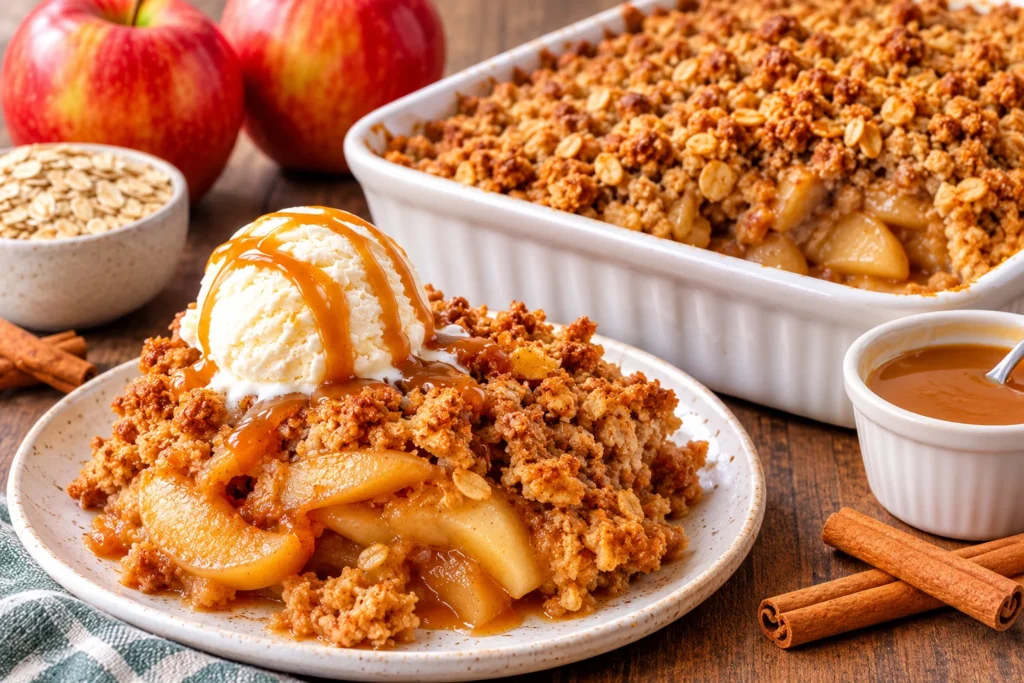
Three pounds of apples, about 6 or 7 medium ones, fill a 9×13-inch pan for apple crisp that serves ten to twelve people. Bought by the bag rather than individually, those apples are usually the cheapest fruit in the produce section for much of the year, and the rest of the dessert comes from the cupboard: flour, oats, brown sugar, butter and cinnamon.
That makes apple crisp one of the most economical desserts for a crowd, and one of the easiest. There is no pastry to roll and no exact technique to master. The topping is mixed by hand in a bowl, the apples are sliced and tossed with sugar and spice, and the oven does the rest in about 45 minutes.
Where the Money Goes in Apple Crisp
Apples and butter are the two biggest costs. Both have practical, cheaper options that change the result only a little.
Apples: buy the bag, mix the varieties
Three-pound bags of apples generally cost less per pound than loose apples, especially in fall and winter. A mix of varieties gives the best filling: a firm, tart apple such as Granny Smith holds its shape and brings acidity, while a sweeter, softer apple such as Gala, Fuji or McIntosh breaks down slightly and creates a saucy filling around the firmer slices. Whatever is cheapest that week, as long as there is some firm apple in the mix, will work.
Slightly bruised or soft apples, often sold at a discount, are fine for crisp. Cut away any damaged spots. They cook down more, so pair them with a few firm apples.
Butter
Butter gives the topping its flavor and crunchy, clustered texture. Half of it can be replaced with neutral oil or melted coconut oil to save money, though the topping will be a little less crisp and less buttery.
Oats and nuts
Old-fashioned rolled oats are inexpensive and make up much of the topping’s bulk. Nuts are often added to crisp toppings but can double the cost of the topping alone; this recipe leaves them out, and the oats provide the crunch.
The Pantry Swap Table
Use the table to adapt the recipe to what you have. Each swap keeps the job of the original ingredient.
Keep one thing constant: some acid in the filling. Lemon juice brightens the apples and keeps the filling from tasting flatly sweet. Any citrus juice or a splash of cider vinegar does the same job.
Building an Oat Crumble Topping That Stays Crisp
The crisp topping is the reason for the dish, so it is worth getting right. Its texture depends on the ratio of dry ingredients to butter and on how the butter is mixed in.
Cold butter, cut into cubes and rubbed into the flour, sugar and oats with your fingertips, makes a topping with distinct clumps that bake into crunchy, craggy pieces. Squeeze handfuls of the mixture together so it forms pebbles and clusters of different sizes. Melted butter, stirred in with a fork, gives a more uniform, cookie-like crumble that is a little sandier. Both are good; cold butter gives more crunch.
Spread the topping evenly but loosely over the apples. Pressing it down compacts it into a dense layer that steams from the fruit underneath instead of crisping.
Thickening the filling
Apples release a lot of juice as they bake. A tablespoon of cornstarch tossed with the sliced apples thickens that juice into a glossy sauce once it comes to a boil. Without it, the filling can be watery and soak into the topping from below. Flour works too, using 2 tablespoons, but gives a slightly cloudy sauce.
When the Crisp Is Done
Bake at 375°F (190°C) for 40 to 50 minutes. Two signs together mean it is ready: the topping is deep golden brown, and the filling is bubbling thickly around the edges of the pan. The bubbles should look slow and syrupy, not thin and watery; cornstarch only thickens fully once the liquid reaches a boil. A knife pushed into the center should slide through the apples easily.
If the topping is brown before the filling bubbles, lay a sheet of foil loosely over the pan and keep baking. Set the pan on a sheet pan to catch drips; bubbling apple juice burns onto the oven floor and smokes.
Cool the crisp for at least 20 minutes before serving. The filling thickens further as it cools, and the topping firms up and turns crunchier.
Stretching It Further
- Mix in other fruit: replace up to a third of the apples with pears, or add a cup of frozen cranberries or berries for color and tartness.
- Make extra topping and freeze it in a bag for up to 3 months. Sprinkle it straight from the freezer over any fruit for a quick crisp.
- Serve with plain yogurt instead of ice cream or whipped cream; it is cheaper and its tang suits the sweet fruit.
Leftover crisp makes a good breakfast, spooned over yogurt and reheated briefly, or eaten cold.
Preparing 3 Pounds of Apples Quickly
Peeling and slicing is the only real work in apple crisp, and a little organization speeds it up. Peel all the apples first with a Y-shaped vegetable peeler, which is faster than a paring knife. Then cut each apple into quarters through the stem, cut the core out of each quarter with one angled slice, and slice the quarters crosswise or lengthwise about 1/4 inch thick.
Even thickness matters more than shape. Thin and thick slices cook at different speeds, so the thin ones turn to mush while the thick ones stay hard. Slices of 1/4 inch soften fully in 40 to 50 minutes while still holding together.
Peeling is optional. Apple skins soften in the oven and add a little color and texture; some people enjoy them, others find them chewy. Leaving them on saves about 10 minutes and a little waste. Wash the apples well if you skip peeling.
Tossing the slices with lemon juice as you go keeps them from browning while you work, though the color change does not affect the finished dish, since the apples darken slightly in the oven anyway.
Gluten-Free and Dairy-Free Versions
For a gluten-free crisp, replace the flour with an equal weight of a gluten-free all-purpose blend or with almond flour, and use oats labeled gluten-free; regular oats are often processed alongside wheat. For a dairy-free crisp, replace the butter with refined coconut oil, chilled until firm and cut into pieces, or with a plant-based butter sold in sticks.
Bake the Apple Crisp
Makes one 9×13-inch pan, 10 to 12 servings. Halve the recipe for an 8×8-inch pan and bake 35 to 45 minutes.
The recipe
Apple Crisp
Sliced mixed apples tossed with sugar, cinnamon, lemon and cornstarch under a clustered oat, brown sugar and butter crumble, baked until golden and bubbling.
- Prep
- 25 min
- Cook
- 45 min
- Total
- 1 hr 30 min
- Serves
- 12
Ingredients
Filling
Topping
Method
- Prepare. Heat the oven to 375°F (190°C) with a rack in the center. Butter a 9×13-inch baking dish.
- Filling. Toss the apples with the sugar, cornstarch, cinnamon, lemon juice and salt. Spread evenly in the dish.
- Topping. Mix the flour, oats, brown sugar, cinnamon and salt. Rub in the cold butter with your fingertips, then squeeze handfuls together to form clumps of different sizes.
- Assemble. Scatter the topping loosely over the apples without pressing it down.
- Bake. Set the dish on a sheet pan and bake 40 to 50 minutes, until the topping is deep golden and the filling bubbles thickly at the edges. Tent with foil if the topping browns too early.
- Cool. Cool at least 20 minutes before serving.
Notes
- Assemble up to 1 day ahead and refrigerate; add 5 to 10 minutes to the bake.
- Keeps 4 days refrigerated; reheat at 350°F (175°C) to re-crisp.
Oven temperatures are for conventional ovens; for convection, reduce by about 25°F (15°C).
Storing and Reheating
Apple crisp keeps, covered, at room temperature for 1 day, and in the refrigerator for up to 4 days. The topping softens in the refrigerator; reheat individual portions in a 350°F (175°C) oven or toaster oven for 10 to 15 minutes to bring back the crunch. The microwave warms it quickly but leaves the topping soft.
To make ahead, assemble the crisp in the pan, cover and refrigerate for up to 1 day, and bake straight from the refrigerator, adding 5 to 10 minutes. Baked crisp freezes for up to 3 months; thaw overnight in the refrigerator and reheat in the oven.